
What Drivers Need to Know About Touch Up Car Paint
When tiny dings and chips occur on a car’s paint, drivers have the option to perform touch-ups to fix the problem. This is a cost-effective solution since a kit can be purchased in almost any auto supply store. These kits can be effective in fixing little spots and chipped paint. However, you should know that touch up kits have limitations. Read on to know more.
When to call a professional
If the damage to your car’s paint is extensive, large, and highly visible, it’s best to bring your car to an auto shop. This way, paint experts can provide a permanent fix to prevent your car’s paint from degrading further.
Also, if you’re not sure how to perform a touch up, it’s best to ask a professional to do it for you. That way, you won’t cause further damage to your vehicle.
Remember that extensive car paint damage can only be fixed with special tools that can only be found in auto body shops.
How to use touch up car paint
Step 1. Clean the affected surface
First, clean the chipped area using a clean microfiber towel. You can also use a glass cleaner to ensure that no dust and dirt has stuck on the paint. If your car is dirty, wash it first and ensure that it’s bone dry before proceeding to the next step.
Step 2. Sand it
Using 1500-grit sandpaper, sand the area with damage. Make light strokes with the sandpaper and avoid sanding a large area on your car paint. Once the chipped area is no longer glossy, wipe the sanded part and make sure that no dust is left.
Step 3. Use paint thinner
Next, you should use paint thinner to clean the sanded area of the car paint. Since we’re dealing with a small amount of damage, you only need a small amount for this. You can use a cotton swab or Q-tips for the application. After that, wipe the excess thinner away.
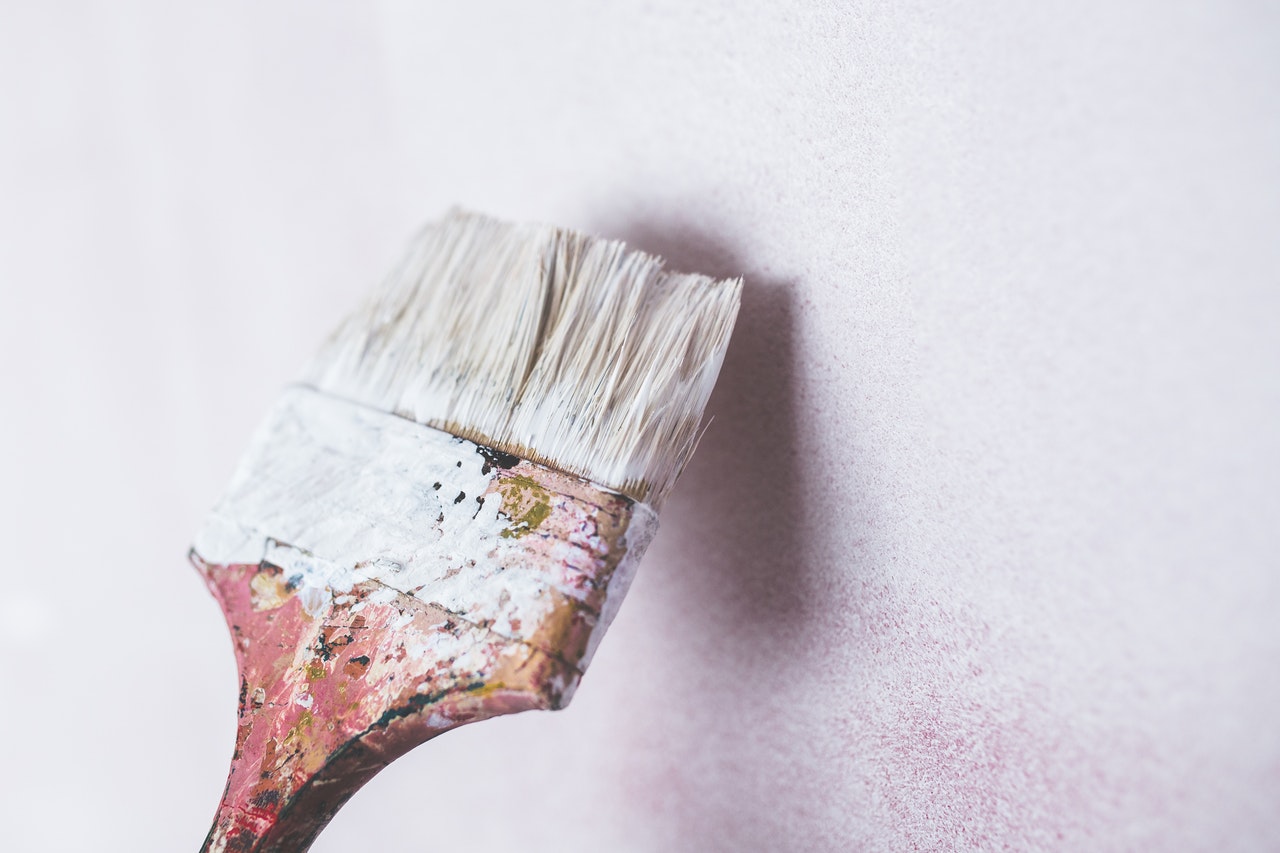
Step 4. Apply your touch-up paint
Now that the affected area is well-conditioned, it’s time to apply the touch-up paint. Always use a fine-tip brush as well as a base coat with a color matching your car paint.
Dab a little paint at the tip of the brush and apply it gently into your car paint. Remember to use only a small amount per application to avoid making the paint too thick. Before applying another layer, wait for the first layer to dry.
Step 5. Let it dry
Once you’re satisfied with the application of the touch-up paint, let it dry for at least 48 hours. During this period, you should avoid driving your car or exposing it to moisture. This well let the touch-up paint to harden and look natural.
Step 6. Final polishing
When the touch-up paint has dried well, the last step is to polish the touch-up paint. This way, your DIY fix will look glossy and natural with the original paint.
Buffing may not be necessary as some touch-up car paint can’t withstand the force and may end up getting chipped off again.