
The Importance of Replacing a Faulty Alternator
 Your car’s electrical system plays a crucial role in ensuring optimal performance and functionality. At the heart of this system is the alternator, which is responsible for generating electricity to power various components while also keeping the battery charged. Therefore, it is important to promptly address any signs of a faulty alternator to avoid potential breakdowns and costly repairs.
Signs of a Faulty Alternator
Recognizing the signs of a faulty alternator can save you from unexpected car troubles. Some common indications include dimming headlights, a dead battery, strange noises coming from the engine, and a warning light on the dashboard. If you experience any of these symptoms, it’s likely time to replace your alternator.
Preparations
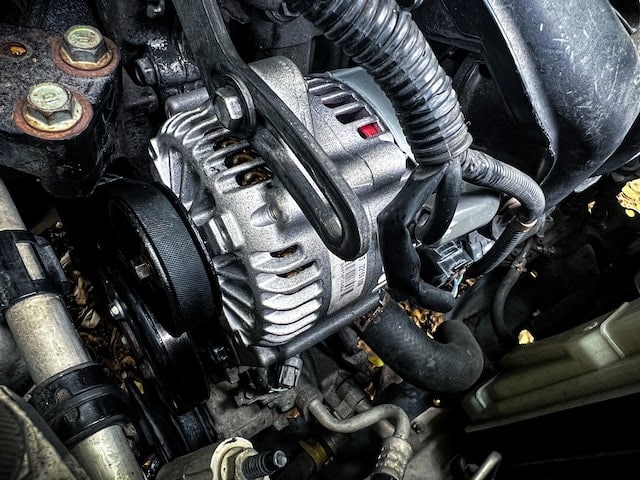
Before diving into the replacement process, gather the necessary tools and equipment. You will need basic tools such as wrenches, sockets, and pliers, as well as safety equipment like gloves and safety glasses. Understanding your car’s specific alternator model is also essential. Locate the alternator, identify its model number, and conduct some research to ensure you purchase the correct replacement alternator.
Disconnecting the Battery
Safety should always be a priority when working on your vehicle’s electrical system. Start by turning off the car and putting it in park. Locate the battery, typically found under the hood, and identify the negative terminal. Carefully remove the negative battery cable, ensuring it does not come into contact with any metal surfaces.
Removing the Old Alternator
Now it’s time to remove the old alternator. Locate the alternator and identify the mounting bolts. Use the appropriate wrench or socket to loosen the bolts and remove the drive belt. Disconnect any electrical connections attached to the alternator. Once everything is disconnected, remove the mounting bolts and take out the old alternator.
Installing the New Alternator
Place the new alternator in the correct position, ensuring it aligns with the mounting holes. Tighten the mounting bolts securely to hold the alternator in place. Reconnect the electrical connections, making sure they are properly seated. Reinstall the drive belt and adjust its tension according to your car’s specifications.
Reconnecting the Battery
With the alternator successfully installed, it’s time to reconnect the battery. Remember to turn off the car and put it in park. Locate the battery and identify the negative terminal. Reattach the negative battery cable securely, ensuring it is tightly fastened.
Testing the New Alternator
To ensure that the new alternator is functioning properly, it is essential to test it. Start the car and observe the dashboard’s battery light. If it remains lit, there may still be an issue with the alternator. Use a multimeter to check the voltage output of the alternator, ensuring it falls within the recommended range.
Troubleshooting Common Issues
In some cases, issues may arise during the alternator replacement process. If you encounter problems with electrical connections, double-check that all connections are secure and properly attached. If the drive belt tension is too loose or too tight, adjust it accordingly. If you have replaced the alternator but are still experiencing issues, consult a professional mechanic to diagnose any underlying problems.
Conclusion
A functional alternator is vital for the proper functioning of your car’s electrical system. By promptly addressing signs of a faulty alternator, you can prevent potential breakdowns and costly repairs. Remember to gather the necessary tools and equipment, understand your car’s specific alternator model, and follow the step-by-step instructions for a successful replacement. Don’t hesitate to seek professional help if needed. Keep your car running smoothly by maintaining a healthy alternator.