
Regular Brake Pad Maintenance: A Step-by-Step Guide
 Regular brake pad maintenance is crucial for the overall safety and performance of your vehicle. The brake system is one of the most important components of any car, and understanding the steps involved in changing brake pads can help you save money and ensure your brakes are in optimal condition. In this article, we will provide an informative and engaging guide to help you successfully change your brake pads.
Understanding the Brake System
To begin, it’s important to understand the role of brake pads in the braking process. Brake pads are essential for generating the friction necessary to slow down or stop your vehicle. There are different types of brake pads available, including organic, semi-metallic, and ceramic. Each type has its own characteristics, such as durability and noise level. Signs indicating the need for brake pad replacement include squeaking or grinding noises, reduced braking performance, and brake pedal pulsation.
Gathering the Necessary Tools and Materials
Before starting the brake pad replacement process, it’s important to have the right tools and materials. Some of the tools you will need include a lug wrench, socket set, C-clamp, and a jack. Additionally, it is recommended to have a brake cleaner, lubricant, and a torque wrench for a successful brake pad replacement.
Preparing the Vehicle for Brake Pad Replacement
Safety precautions should always be followed before starting any automotive repair. Begin by parking your vehicle on a level surface and engaging the parking brake. Next, consult your vehicle’s manual to locate the proper jacking points and use a jack to safely lift the vehicle. Once lifted, secure the vehicle on jack stands for added stability.
Removing the Old Brake Pads
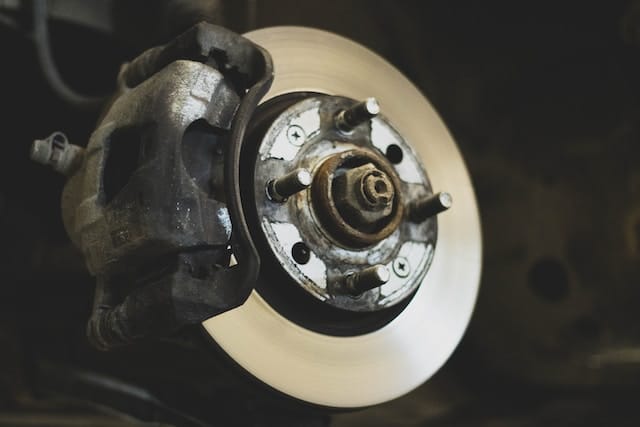
To access the brake assembly, you will need to remove the wheel. This can be done by loosening the lug nuts with a lug wrench and removing them. Once the wheel is removed, you will be able to identify the brake caliper and its components. Follow a step-by-step guide to safely remove the brake caliper and pads, taking care not to damage any components. It is also important to inspect and clean the brake caliper components to ensure optimal performance.
Installing the New Brake Pads
Once the old brake pads have been removed, it’s time to install the new ones. Different types of brake pad installations, such as shimmed or chamfered, require different techniques. Follow a step-by-step guide to properly install the new brake pads, making sure they are aligned correctly. It is also recommended to lubricate the brake pad contact points for optimal performance.
Reassembling the Brake Caliper
After installing the new brake pads, reassembling the brake caliper is necessary. Ensure proper alignment of the brake caliper and follow a step-by-step guide to reassemble it and secure it in place. It is important to tighten the caliper bolts to the recommended torque specifications to avoid any issues.
Reattaching the Wheel and Lowering the Vehicle
With the brake caliper reassembled, it’s time to reattach the wheel. Position the wheel correctly and tighten the lug nuts to the appropriate torque. Once the wheel is securely in place, follow a step-by-step guide to safely lower the vehicle from the jack stands. After lowering, double-check the lug nut tightness to ensure everything is secure.
Testing and Bedding the New Brake Pads
After completing the brake pad replacement process, it is crucial to perform the bedding-in process for the new brake pads. This process allows the brake pads to properly mate with the rotors, ensuring optimal performance. Follow a step-by-step guide to perform the bedding-in process. Finally, test the brakes for proper functioning and responsiveness to ensure everything is working as it should.
Conclusion
Regular brake pad maintenance is essential for the safety and performance of your vehicle. By following the steps outlined in this article, you can successfully change your brake pads and save money on expensive repairs. However, if you feel unsure or uncomfortable with the DIY approach, it is always encouraged to seek professional help. Remember, your safety on the road should always be a top priority.